
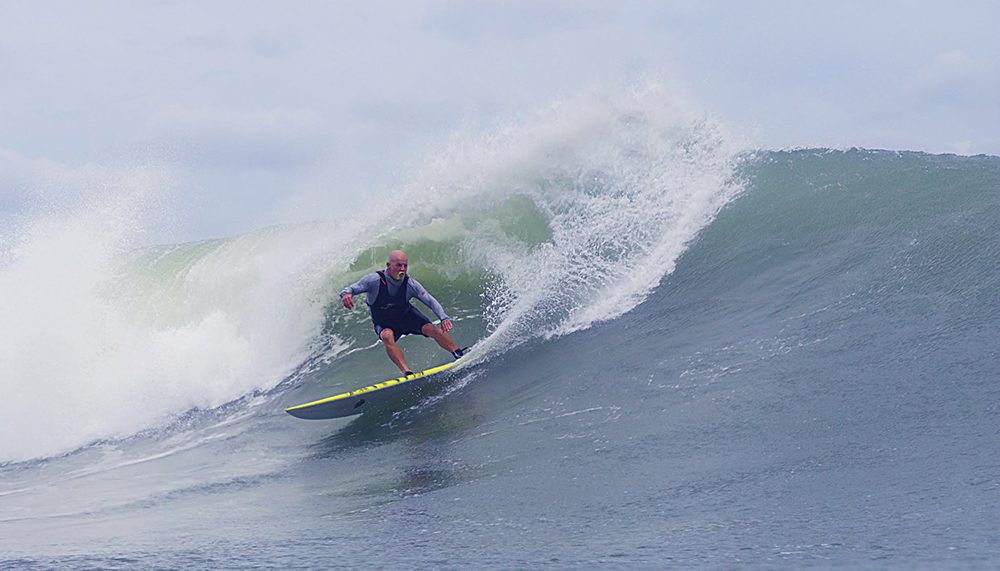
From Still to Swell: How to Turn Your Best Surf Photos Into Short Video Clips
You shot 300 frames from the sand at El Porto. Burst mode, the whole session. And out of all of that, you got exactly one keeper — your buddy mid-bottom-turn, spray lit up by the afternoon sun, everything sharp.
One frame. That’s usually how it goes.
Then you post it, it gets a handful of likes, and it disappears down the feed by dinner. Meanwhile the guy who filmed the same session on a phone gets three times the reach with footage that isn’t half as good.
That’s not your photography. That’s the algorithm. Reels, TikTok and Shorts all push motion hard, and a still photo — even a great one — starts at a disadvantage. The good news is you don’t have to reshoot anything. You can take the frame you already have and make it move.
What “image to video” actually means
The tech has gotten quietly good over the last couple of years. You upload a photo, describe the motion you want in plain English, and an AI model generates a short video clip using your photo as the first frame.
It is not editing. It’s not a Ken Burns pan across a still, and it’s not rotoscoping. The model generates new frames that plausibly follow from yours — the lip feathering, the spray drifting, the camera easing in.
Tools like Stivio handle this in three steps: drop in a JPEG or PNG, type one sentence describing what should happen, pick a clip length between 3 and 30 seconds, and download an HD MP4 a few minutes later. No timeline, no keyframes, no software to install.
Worth being straight about the limits, because this is where people get disappointed:
It will not recreate the ride you actually surfed. The model has one frame of information. It invents everything after that. If your friend was about to get pitched, the AI doesn’t know — it’ll probably give you a clean, pretty continuation instead.
It’s best at short. Three to eight seconds looks convincing. Push toward thirty and the model starts inventing detail that drifts away from reality — faces soften, the wave face does things water doesn’t do.
Treat it as motion design, not documentation. If you’re making a highlight reel of a real session, use real footage. If you’re making an intro card, a title shot, a lineup atmosphere clip for a caption — this is exactly the right tool.
Which surf photos actually work
Not every shot animates well. After a bit of trial and error, the pattern is pretty clear.
These work:
- Lineup and horizon shots. Empty water, a set stacking up outside, morning glass. There’s almost nothing for the model to get wrong, and gentle water motion sells it instantly.
- Spray and lip detail. A tight crop on the whitewater. Water is chaotic anyway, so generated motion reads as natural.
- Silhouettes. Someone walking out at sunset with a board underarm. Low detail on the subject means fewer chances for the model to warp a face or a hand.
- Beach texture. Sand, palms, flags, a wetsuit hanging on a fence. Ambient clips like these are gold for filling out a story sequence.
These fight you:
- Anyone mid-manoeuvre, shot tight. The exact frame you’re proudest of is often the hardest one. Limbs in complex positions are where these models still visibly struggle.
- Crowded lineups. Ten people bobbing in frame means ten chances for something to go weird.
- Anything already blurry. Animation amplifies softness. Sharpen the still first — a soft source gives you a soft, mushy clip.
Writing a motion prompt that doesn’t look fake
This is the part that separates a clip you’d actually post from one that screams AI. Three things to specify: what moves, how the camera behaves, and the mood.
Vague prompt: “make the wave move”
Better: “the wave face rolls forward, spray drifting right in the offshore wind, slow camera push-in, golden hour, handheld feel”
A few that work well on surf frames:
- “gentle swell rising and falling, static locked-off camera, early morning haze” — for lineups
- “whitewater churns and disperses, camera drifts slowly left, overcast flat light” — for spray crops
- “figure walks toward the water, slight camera follow, long shadows, wind in the grass” — for beach silhouettes
Two habits that help a lot:
Ask for less motion than you think you want. Subtle beats dramatic almost every time. Aggressive prompts are where you get melting boards and rubber arms.
Specify the camera. “Static camera” or “slow push-in” gives the model a constraint to work within. Leave it out and you often get a restless, drifting shot that feels off.
A workflow that fits an actual session
Here’s roughly how it slots into a normal edit:
- Cull first. Pick your five or six real keepers. Don’t animate mediocre frames hoping the motion saves them — it won’t.
- Fix the still before you animate it. Straighten the horizon, sharpen, set your exposure. Everything you fix in the photo carries into every frame of the video.
- Animate two or three, not all of them. A feed that’s entirely AI-generated motion gets stale fast. One moving clip among stills is what catches the eye.
- Match the aspect ratio to the destination. Most tools output at the source photo’s ratio, so crop to 9:16 before uploading if it’s going to Reels.
- Cut it short. Trim to the two or three seconds that look best. Nobody needs the whole clip.
Is it worth doing?
If you shoot surf regularly and you’re posting to build something — a page, a small brand, a photography side hustle — then yes. A single moving clip in a carousel of stills meaningfully changes how it performs, and it costs you a few minutes on a photo you already own.
If you just want to remember a good day at Hermosa with your friends, honestly? The still is fine. It always was.
But those frames you almost threw away — the empty lineup, the sunset silhouette, the shot that was nearly something? Those are the ones worth feeding to a model. Turns out the throwaways make the best clips.